Saturday, December 20, 2014

Bright and Beautiful

I am having so much fun with the Bright and Beautiful Stamp Set and the Star Framelits.

This is a pocket card and the stamped stars are an ornament. A pretty card and an ornament.

I wish I could find my fancy ornament hangers to show how pretty is looks hanging on my tree!
I am sure they will show up under one of the piles of projects sitting on the craft table.

Thursday, December 18, 2014

Personalized Gift Boxes

Thought it would be lots of fun to personalize gift boxes for our nieces this year. Getting ready to fill them with Project Life from Stampin' Up!

The flowers and leaves are from the Flower Frenzy Bigz die. So many ideas for this die. Can't wait until I have more time to play.

Right now, I am a busy elf getting ready for Christmas. More gift to finish. I love giving one of a kind handmade treasures.

Water Color Winter

Just wanted to share some ideas for the Watercolor Winter Card Kit. I attended an event where we made one of each card in the kit. The kit is a blast and provides endless possibilities for your creativity.

The kit provides instructions for the four cards or you can mix and match the parts to create your own ideas. Here are the cards I created.

Enjoy!

Wednesday, December 17, 2014

Handmade Cards for Christmas Presents

I have been collecting cards that I have made from Paper Pumpkin and one from Sale A Bration last year. I decided that the Paper Pumpkin cards would make great gifts this Christmas. There is such a nice variety of occasions and they turned out so pretty.

Here is peak at what I am wrapping up as gifts this year.
 
 
Here they are all packaged up and ready for their new homes.


Tuesday, December 16, 2014

Paper Pumpkin All Shook Up, December 2014

Received My Paper Pumpkin in the mail today. Even with everything going with Christmas, I couldn't resist playing with the kit.

Here is one of the cards from the kit:


Here is an alternative card that I made from the negative image left over from the original card.
A little Coastal Cabana and Strawberry Slush made for bright and happy card.


Here is a picture of both cards together.


The kit is super fun and I can't wait to play with this some more. Thank you Pumpkin Fairy!

Endless Wishes

This is one of my favorite stamp sets. It has been on my desk since sometime this fall. It works for everything. Christmas cards, gift tags and sentiments in a handmade book that is in progress.

I love that you can mix and match the words. Little words and big words to mix and mingle!

Speaking of things I love, I am thrilled with the new color Lost Lagoon. It is such a beautiful blue. The snowflakes are stamped in three colors, Lost Lagoon, Pool Party and Crumb Cake.


This card is paired up with the Scalloped Tag Topper punch and the Northern Flurry Embossing Folder. The card base is Lost Lagoon. The tag is stamped with Pool Party and Pistachio Pudding ink.

Monday, October 20, 2014

Paper Pumpkin Sweet as Pie October 2014

The minute I saw this kit, all I could think of is Cheese Heads. Do people outside of Green Bay know about cheese heads? I had to put one together and convert it from a pie box to a little wedge of cheese!


With a little bit of Hello Honey paper and the Large Polka Dot embossing folder, you can make cheese. I rubbed the paper with Versa Mark to create texture.

I used Mossy Meadow ribbon and Gold Sequin Trim to add a little bling.

The banner is stamped with the new photopolymer Back to Basics Alphabet in Mossy Meadow.

Go Packers!

Thursday, October 9, 2014

Stampin' Addicts Winter Holiday Blog Hop

http://www.stampinaddicts.com/forums/general-stampin-talk/9546-holiday-catalog-blog-hop-winter-edition.html


If you are looking for Christmas, Hanukkah and everything snowy, then this is the blog hop for you. In this blog hop we are covering the Winter part of the Stampin' Up! 2014 Holiday Catalog.

We did the first half of the catalog in the Fall Blog Hop. Those links are still active if you want to see the fall ideas.

I hope you enjoyed Jen's projects where she featured the New Born King stamp set.

I am using a single stamp called Christmas Bauble. A fun and pretty stamp that you can color, emboss, punch out the center and so many other ideas.

Here is a card using traditional Christmas colors and a Café Bag to match.


In this card, I punched out the center of the stamp and used it as an "O" in the word JOY.  The paper is the Trim the Tree Designer Series Paper Stack.


The next cards show the stamp using one of my favorite new colors - Lost Lagoon. I love that color!

The first card shows the center covered up by a circle with the word Joy from the stamp set Endless Wishes. Endless Wishes is one of my favorite stamp sets. So many cute little words to play with.

The second card shows the center punched out to create small round baubles.  The greeting is from Endless Wishes.


My last idea was to actually make the bauble a hanging ornament. I cut the holly leaves off to balance the ornament so it would hang evenly.

 
The Christmas Bauble stamp offers so many creative possibilities. I hope these ideas inspire you to create with the Christmas Bauble.

The next stop on the blog hop is Heidi where she is featuring Festival of Trees.

A complete list of blog hop participants is located here.

Thanks for hopping with Stampin' Addicts.

http://runningwscissorsstamper.blogspot.com/2014/10/stampin-addicts-winter-holiday-blog-hop.html

http://stampinonthefly.com/2014/10/winter-holiday-hop/

Monday, September 22, 2014

Gratitude for Days, Part 2

Just wanted to share a couple of tips for masking and sponging. I am by no means an expert, but
these techniques seem to work pretty well for me.


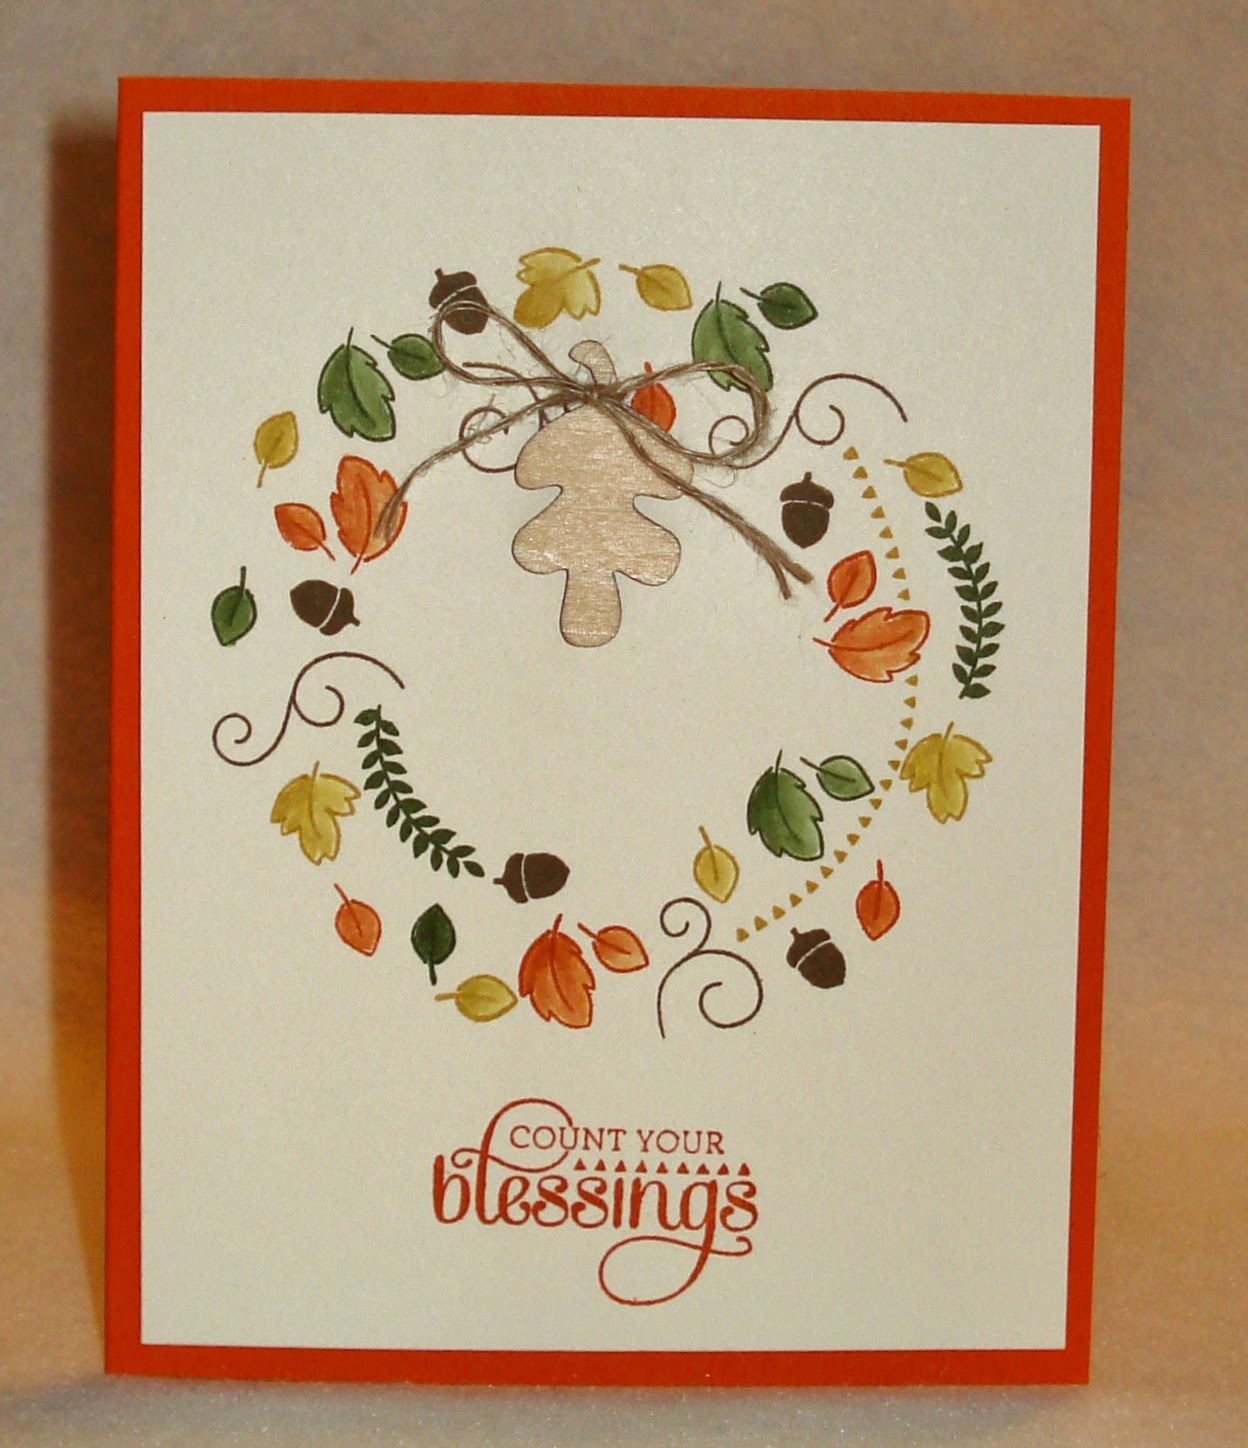
This is the technique for the wreath card.  Cut out the large circle to make a template. I used the Circle Framelits from Stampin' Up! to make the circles.  Attach the template and the small inner circle to your card base using temporary adhesive.


I reuse my templates as you can see. They hold up well and I don't have to re-create the template for every card I make.

For the wreath card, I started with my largest images first. I did the long line first, then the swags, then the swirls and finally filled in with leaves and acorns.

Here is a card that I tried, but there was something about that reminded me of a donut with sprinkles. Not what I was looking for on a card.  Don't be afraid to work on design details until you achieve the result you are looking for.


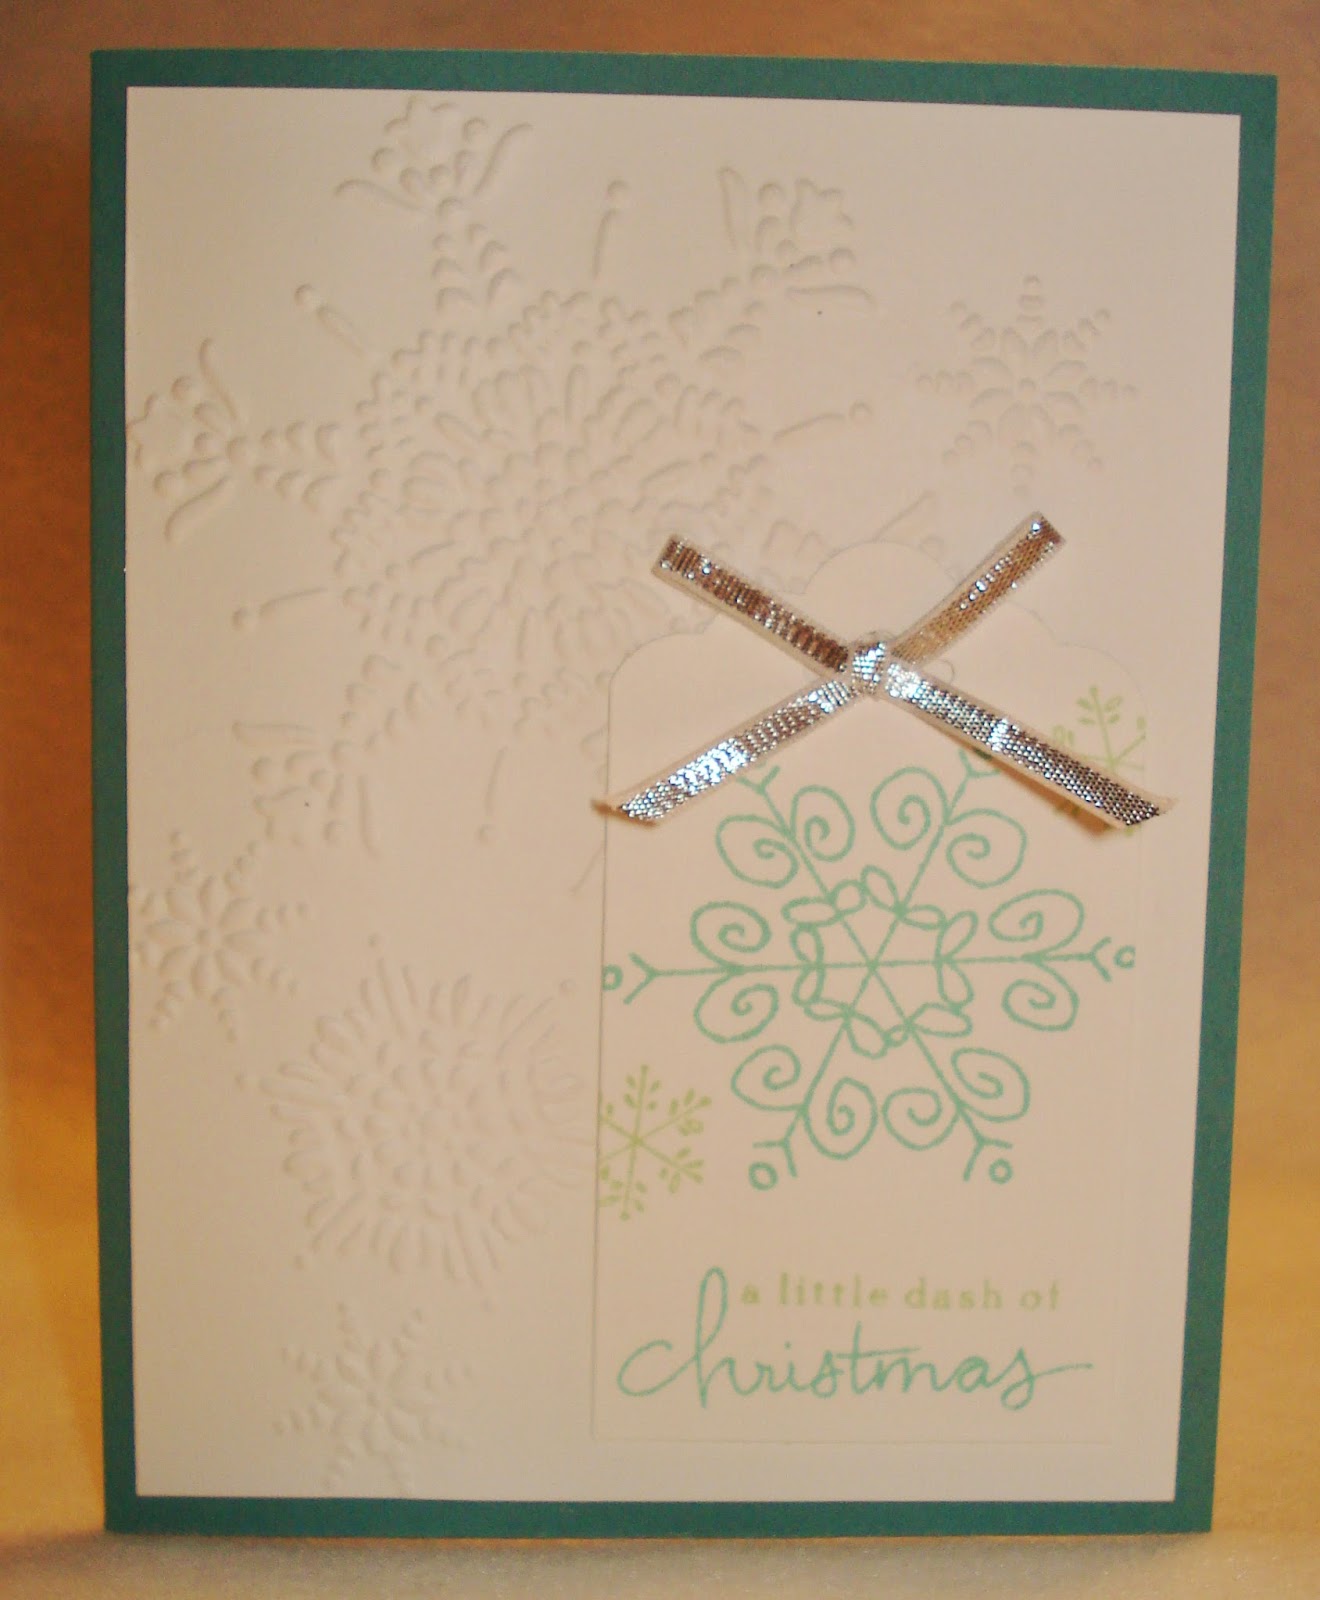
The next card has a vertical panel of sponging for color and texture. To finish the card, the leaves and swirls are stamped after the sponging.


Here are some steps to get you started on sponging this card.  First, I placed vertical strips of paper on either side of the area that will be sponged.


I started with the lightest color which is So Saffron.  One of the best tips for sponging I have found is to start the sponging off of your finished area. To start sponging, I have the sponge inked and start inking on the mask itself. In this photo the sponge would move from left to right in a light circular motion. Starting off the finished area gives light coverage and more control over the ink.


The next step is to add another color. My second color in Tangelo Twist. Another tip is to sponge a few times on your scrap paper. This gets the sponge a little damp with the ink and evens out the ink on the sponge.

I am getting a little lighter coverage on my card and the darker sponging on my scrap paper. It will depend on how dark you want your colors and how much blending you want to achieve.


The third color is Old Olive. I used the same technique as I did with the Tangelo Twist.


One final step which worked really nicely on this card is to go over the entire area with a really light sponging of Crumb Cake. It helped to blend all of the colors together and fill in any white space with a light beige.

 
The final step is to remove the mask. Now you are ready to stamp.


It seems like a lot of steps, but once you get used to the technique, you will find your own favorite method.  As long a you like it, you did it correctly.

Have fun sponging.

Saturday, September 13, 2014

Gratitude for Days

Hello stamping friends. I have been working with a new stamp set called Gratitude for Days. It is on page 38 of the new Holiday Catalog.


This is a photopolymer stamp set which makes it really easy to stamp things where you want them because you can see through the stamp and the clear block.  They also bend really nicely to create vines and arcs.


My goal this year is to be creative with the stamp sets and create at least five things from each stamp set I purchase.  This stamp set did not disappoint. So many possibilities and I haven't even made any tags or treats yet.

I was inspired by wreath Sara Douglas showed at Inspire, Create, Share this summer. I wanted to do a version on a card. The images are colored in with blender pens.


Here are two versions of the same card embossed in gold and colored in with Stampin' Write markers.


The next card has some simple sponging and stamped images.


One more card with simple stamping.  (Sorry, I can't get a good image on this one. The ribbon seems to be too shiny for the camera to focus. Ribbon is Very Vanilla seam binding rubbed over a Cajun Craze ink pad.)


I am running out of time for today. I will put up another post tomorrow about the techniques.

Enjoy!

Friday, August 29, 2014

Stampin' Addicts Holiday Catalog Blog Hop - Fall Edition


http://www.stampinaddicts.com/forums/general-stampin-talk/9540-holiday-catalog-blog-hop-fall-edition.html

That's right, this is the Fall Edition of the Stampin' Addicts blog hop. That means there will be another blog hop featuring the winter items from the new Stampin' Up! Holiday Catalog.
That blog hop will start on Friday, October 10th.

I hope you enjoyed Rhonda's blog where she featured For All Things.

I am showing the new Designer Series Paper called Color Me Autumn. It is absolutely beautiful.
The 12 different designs are a mix of water color solids and prints. Perfect for all of your fall projects and more.


It is easy to coordinate the different papers together to create a mix of table décor and
gift packages.  

The Petite Café gift bag in this photo is brand new and a great addition to the line of packaging options offered by Stampin' Up!.

The leaves on this card are hand cut from one of the papers. You can see more of this paper wrapped around the napkin jar in the previous photo.


If you are a Blackberry Bliss lover (I am), this paper pack has two great prints. Both are on this card.


I hope the Color Me Autumn paper inspires you to create your own autumn projects. Thanks for hopping with Stampin' Addicts.

The next stop on the blog hop is Tanya where she is featuring Four Feathers.

A complete list of the blog hop participants is located here.


http://tinkerin-in-ink.blogspot.com/2014/08/stampin-addicts-2014-fall-holiday-blog.html      http://thestampinbunny.blogspot.com/2014/08/stampin-addicts-holiday-catalog-blog.html

Thursday, July 24, 2014

Paper Pumpkin July 2014 Wish Big

I promised a follow up post and here it is . . .

I realized that I really like jars. Various sizes and shapes, old and new. They are welcome in my home. Here are two ideas for this month's Paper Pumpkin using jars.

The Blackberry Bliss "WISH" letters are cut from the brand new Perfect Print Alphabet Bigz die on page 232 of the new catalog. The 1 1/4" letters are perfect for all kinds of projects - tags, bags, cards and jars.


The first one is a Wish jar for extra coins.  Think of a wish and save up your extra coins. A new stamp set, dinner with a friend ... It's your wish.

The other jar is for giving thanks. You can put some of your coins in here to share with others. How about a jar of things you are thankful for. Keep slips of paper near the jar. How about a family challenge that everyone puts in one slip a week about what they are thankful for. At the end of the month you can read what everyone is thankful for.

                     I am thankful for:  my family
                     I am thankful for: wonderful friends
                     I am thankful for: a God that created beautiful flowers

There is so much to be thankful for.

Here is the gift box that comes with the kit and a variation of the card.


I removed all of the die cut stars that come with the kit and put them in an empty embellishment dish. My stars are all nice and safe and the background creates a perfect stencil.  I stenciled the stars on the card base using a sponge and Pool Party ink.

So much fun in one little orange box.

Monday, July 21, 2014

Paper Pumpkin Wish Big! July 2014

Just wanted to share what came in the mail today - Paper Pumpkin Wish Big!

I love the Paper Pumpkin kits that come in the mail every month. They have changed a lot since the beginning of the program. They include more fun things and bigger stamp sets!

This month includes the 10 stamps shown below, a Blackberry Bliss ink spot, ribbon, twine, stars, hearts, 6 card bases and envelopes, 6 gift boxes and 12 tags. I am not even sure I have it all listed, but it is all fun stuff.

Paper Pumpkin is fun just creating everything the way it comes in the kit. It is also fun to wait and see what everyone else creates and pick your favorite ideas.

I played with the stamp set for at least 20 minutes before I even opened the rest of the kit. I haven't decided what to make first. I promise another post with my creations.

For some reason the stamp set doesn't look clear, if you click on the photo, the larger image is clear. One of the great mysteries of my photography.

Friday, June 27, 2014

Everyday Occasions Card Kit, Part 3

The cards in the Everyday Occasions Card Kit come in 3 sizes 4 1/4 x 5, 3 1/2 x 5 and 3 x 3.

Perfect sizes for any occasion. Enjoy.