Monday, November 11, 2013

Proud to be an American

I just wanted to share this card for Veteran's Day. I am going to send it to my brother, Thom,
who served in the Navy.  He served on the battleship the USS Wisconsin.  Very special because
we live in Wisconsin.

Thank you to Thom and to all of our veterans who honor our country with their service.

I made the card in Kim Bolzenthal's class this past summer.

I knew this card would be for my brother the minute I made it.


I can't remember all the details of the card, but the flag was cut out from the Top Note die.
Then it was embossed to give it texture. Fun idea for a flag.


Monday, November 4, 2013

Joy - A Very Merry Christmas to You

I was so excited to play along with the Nacho Average Sketch #61. I had an idea right away, but it took me all week to finally have time to finish my card. I didn't make the cutoff to add the card to their website, but I did my card anyway. Here is the sketch for last week:


Here is the card that I thought of when I saw this sketch:


After I put together the basic layout, I added a few finishing touches. On the 1" circles and the greeting, I inked a background stamp with Crumb Cake ink (any background stamp will do).
I stamped once on scrap paper and then stamped on the 1" circles and the greeting. This gives
the Very Vanilla paper just a hint of color and texture.

I embossed the Cherry Cobbler Core'dinations paper with the Perfect Polka Dot embossing folder.
I lightly sanded the dots to reveal the lighter color underneath.

Two simple techniques gave the card the look I had in mind.

Supplies:

Stampin! Up Designer Series Paper - Be of Good Cheer (retired)
Paper:  Cherry Cobbler, Cherry Cobbler Core'dinations, Very Vanilla
Cherry Cobbler Seam Binding
Ink:  Cherry Cobbler and Crumb Cake
1" Circle Punch
Greeting: More Merry Messages
Pearl Jewels
Perfect Polka Dot Embossing Folder
Sanding Block
3/4" Die Cut Letters

Tuesday, October 22, 2013

Thankful Birch Log

I am so excited to have this project completed and ready to give to my Mom. She loves autumn and I think she is going to love this centerpiece.

I have to say a big thank you to Kim Bolzenthal for helping with this project and for helping
me launch my blog. I wouldn't even have a blog if it wasn't for Kim. Click on this link to
see Kim's Birch Log.


The Birch paper is from the Thankful Tablescape Kit in the Holiday catalog. The leaves and acorns are from Autumn Accents Bigz die.

Thankful for the beauty of Fall.


Saturday, October 19, 2013

Autumn Banner

I haven't posted on my blog in the last few weeks because I have been working on Autumn banners for friends and family.

Each one becomes a little work of art and unique in its own way.

The banners are a fun mix of new and old. They are a great way to use up odds and ends.

My stamp room looks like a wreck when I create these, but it is worth it when I see
the finished project.


Christmas Star

One of the new single stamps from Stampin! Up is the Christmas Star.  The star isn't just for Christmas. I stamped it in More Mustard and realized it was a perfect tag for a Chevron bag.

The stamped image is cut out and scored on white lines. Punch a tiny hole in the center of the star. Fold on the scored lines and fold into a 3-D star. Add a pearl to cover the tiny hole in the middle. I added an eyelet to make sure the paper didn't rip on the tip of the star.

A perfect way to package the Autumn banners I made for friends and family.

Thursday, October 3, 2013

Stampin' Addicts Winter Holiday Blog Hop


Welcome to the Stampin' Addicts Winter Holiday Blog Hop. This blog hop features the winter items from the Stampin' Up! 2013 Holiday Catalog.

If you are following the Blog Hop in order, you arrived from Heidi's Blog where she features
Tags for You.

My Blog features the stamp set Warmth & Wonder. This Hostess set features 7 stamps and is on
page 39 of the Holiday Catalog. (Note:  Images are larger than they appear in the catalog.)

The Warmth & Wonder stamp set is perfect for cards, tags and many other projects.


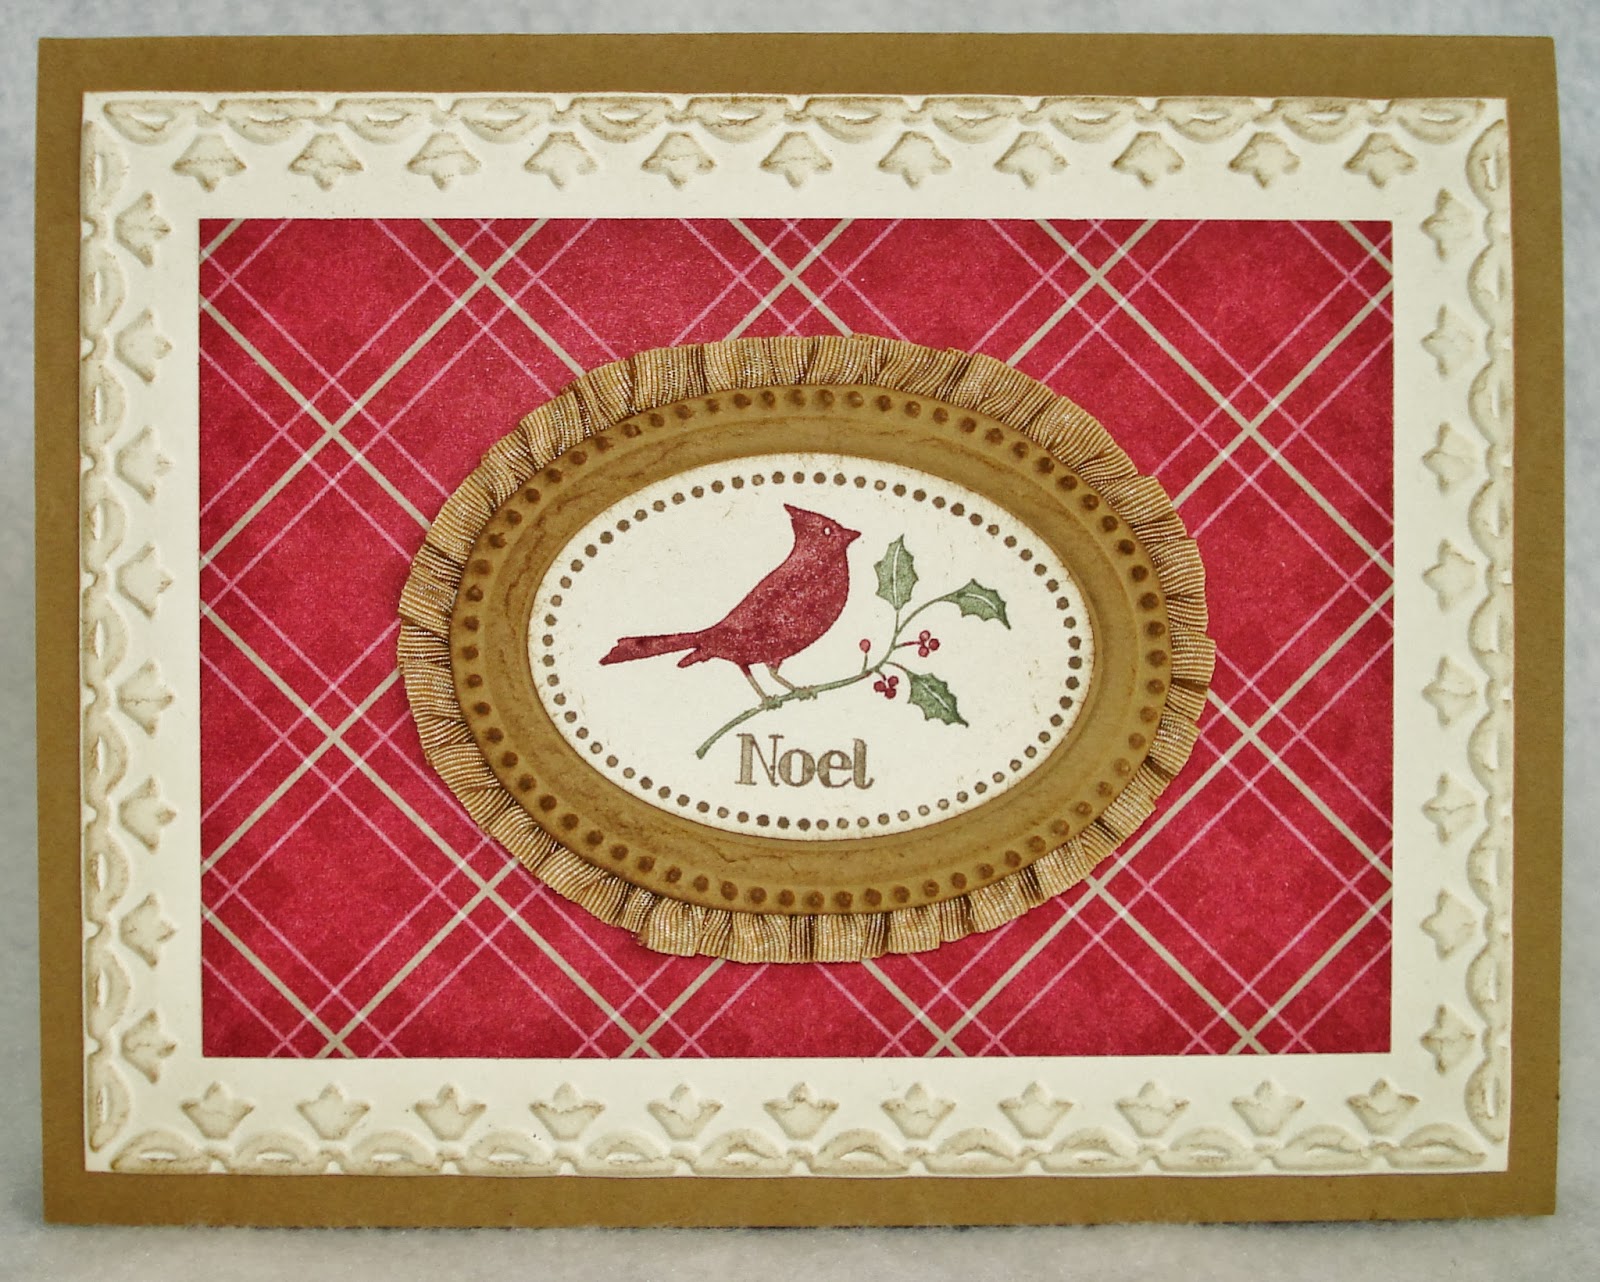
The Cardinal stamp fits perfectly in the Oval Designer Frame. The oval is surrounded with the
Baked Brown Sugar Ruffled Stretch Trim. The ribbon is easy to use and very pretty.


The Tree stamp is really fun to use. Stamp the tree and then stamp the little circles in any color
you choose.  The Season of Style Designer Series Paper is sponged with Crumb Cake to give it a rustic look.


The Reindeer card uses the Winter Frost Designer Series Paper and the Silver Glimmer Paper. Smoky Slate and Pool Party create a quick card with a little bit of sparkle.


Stampin' Up! has boxes and bags to make your gifts look beautiful. These three packages are coordinated with Cherry Cobbler and Crumb Cake.

The 7/8" Cotton Ribbon is stamped with the Snowflake stamp and Cherry Cobbler ink.

Tag a Bag Chevron Bag (131370), Tag a Bag Gift Box (130927), Kraft Gift Box (124106)

The next stop on the Blog Hop is Mary's blog where she is featuring Perfectly You.

If you get lost along the way, there is a list of all the participants at the bottom of this post.


Blog Hop Order: 1) Tanya -- Season of Style DSP & Washi Tape -- Tinkerin In Ink with Tanya
2) Twila (tjdstampsalot) -- A Banner Christmas -- Stamp A Little Longer
3) Holly (catrules) -- Wishing You -- Rubber Redneck
4) Rhonda (rhondaG) -- Calm Christmas -- The Stampin' Bunny
5) Betty (Kittystamp) -- Holly Jolly Simply Sent kit -- Kitty Stamp
6) Kim (s1itcher46) -- Joyful Christmas -- Stitchin n Stampin' on Paper
7) Carmen -- Remembering Christmas -- Stamping Addiction
8) Yapha -- Winter Frost Specialty DSP -- Rubber Stamping & Card Making with Yapha
9) Sara (lilyinkpad) -- Festive Flurry Bundle -- Lily's Ink Pad
10) Mary (nuhddad) -- Christmas Banner -- Mary's Stamping Happenings
11) Debra (WebDeb) -- Wonderful Wreath -- Heartfelt Inkspiration
12) Adriana (escape2stamp) -- Stamp a Tag Kit -- escape2stamp
13) Jennifer (JenTimko) -- Expressions Thinlets -- Stampin' on the Fly | My adventures in stamping
14) Paula (scrapshappen) -- Gift Bow Bigz Die -- Stampin' with Paula
15) Heidi (hlw966) -- Tags for You Bundle -- RunningwScissorsStamper
16)Tina (tina123) -- Warmth & Wonder -- Paper Art Garden
17) Mary (MaryR) -- Perfectly You -- {scrap and stamp with mary}

Monday, September 23, 2013

Polka Dot Pieces

Welcome to Stampin' Addicts Recycle Challenge #6.  I chose the sketch this week.  I picked Sketch Challenge #127:


Here is the card I made from the sketch:

You can see all of the projects from this sketch on Pinterest - SA Recycle Challenge #6.
 
The fun part of playing along with sketch challenges is that you choose your paper, stamp set, embellishments, etc.
 
I had to get creative with the bird.  I wanted to use the stamp that is in the Polka Dot Pieces set, but it faces to the left.  I wanted my bird to face to the right.  I tried the "kissing" technique, but I couldn't get the image to look nice.
 
My solution was to use the Bird Builder punch and Designer Series Paper.  Choose the paper you want for the bird, punch on the wrong side of the paper and you end up with the bird facing to the right.  I sponged the bird's wing with Cajun Craze to get a darker color.
 
My next dilemma was the ribbon.  I ended up using 1/4" Stitched Grosgrain in Daffodil Delight.  It was too bright so I sponged it with Soft Suede.
 
The card took longer than I planned, but I like the end result.
 
Stamp Set:  Polka Dot Pieces
Ink: Cajun Craze, Old Olive, So Saffron, Soft Suede (sponging), Early Espresso (Greeting)
Paper: Very Vanilla, Old Olive, Early Espresso, Sweater Weather
Punches:  Bird Builder Punch, 1 1/4" Scallop Circle, 7/8" Scallop Circle, 2 1/2" Circle